Welcome to
On Feet Nation
Members
Blog Posts
lskkxuls
Posted by Raymond on September 14, 2024 at 7:13pm 0 Comments 0 Likes
qspwwyvp
Posted by Anna on September 14, 2024 at 7:13pm 0 Comments 0 Likes
Top Content
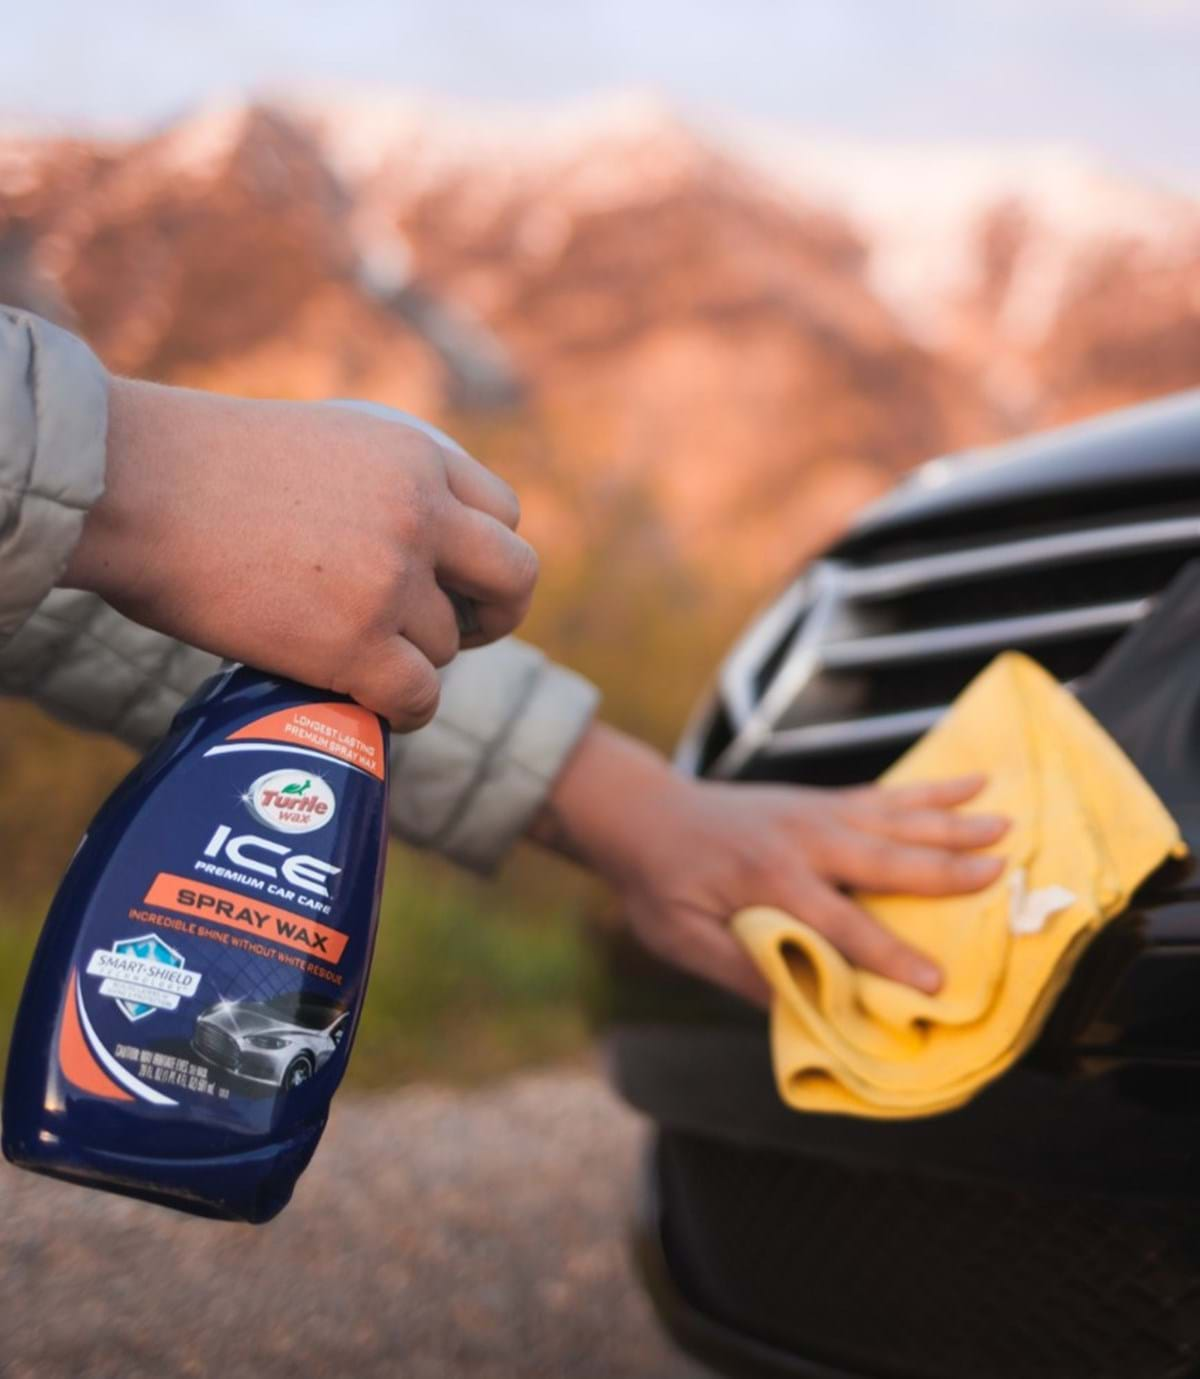
The Worst Advice You Could Ever Get About How Long Does Car Detailing Take
Exactly how To Tidy Your Cars And Truck Interior - Pro Overview
Prepared to Learn Just How To Tidy Car Interior? Discover all the little information to obtain your cars and truck indoor pristine.
We invest a lot time in our autos, virtually 160 hrs each year to be precise, but for some weird reason lots of forget cleaning vehicle interiors. A tidy auto interior is a should in ensuring your vehicle preserves its worth & likewise keeping you and your family members secure from germs and also viruses.
We will take you detailed on how to cleanse a automobile inside all while giving you ideas & techniques that professional detailers use in order to make the within your automobile really feel brand new!
When your auto inside is clean check out our ( Exactly How To Detail a Vehicle: Detail Your Car Like a Pro Detailer!) write-up to learn exactly how to provide your regional professional detailer a run for his cash!
Must Have Supplies: What Do You Required To Tidy Your Automobile's Interior?
Just like any type of detailing task, cleaning the inside of your cars and truck requires a couple of straightforward tools & cleansing products that you can quickly locate in your neighborhood store, Amazon or online.
We will additionally include links to all our favorite vehicle interior cleansing devices & items throughout the short article to save you time and money!
1. Intra Clean + Intra Protect: The Most Effective Interior Explaining Set
2. 2 vacant trash can
3. A vacuum with crevice device attachments (preferably a store vacuum).
4. Describing brushes.
5. Stiff bristle cleaning brush.
6. Clean microfiber towels.
7. Cars and truck indoor cleaner or All Function Cleaner.
8. Cars and truck carpeting hair shampoo.
9. PH neutral leather cleaner.
10. Ammonia cost-free glass cleaner.
11. Safety Gloves.
Action 1: Remove Your Flooring Mats.
Flooring matts are excellent for protecting your carpetings, but overtime a lot of dirt and crud can obtain stuck below. Put on your safety handwear covers and go around your vehicle's interior seeing to it to eliminate all your flooring matts so you can see real problem of your rugs.
Step 2: Vacant The Automobile Interior & Light Vacuum.
You wish to make sure to empty the vehicle interior of any type of personal items along with any kind of large garbage that your vacuum cleaner will certainly not gobble. Get your first vacant trash can and area all individual items in it such as check books, insurance policy papers, change, and also anything else of value to you. After you're done put this bag to the side for risk-free maintaining.
Then order your second trash can as well as start taking care of any type of huge waste such as empty plastic containers or large pieces of food. Anything your vacuum cleaner may struggle getting make sure to throw in your second garbage bag for you to dispose of.
Pro Pointer: If you have food crumbs as well as gunk in your mug holders as well as storage compartments, give them a light vacuum cleaner before step 3!
Step 3: Cleaning Up the Control Panel, Door Panels, as well as Facility Console.
" After prepping my inside, I applied Plastic Recover to all the interior plastic as well as trim, leaving out the trunk area as well as a small portion of the dash. Plastic Restore did a fantastic work, really regular color wise."-- Spencer Mac, Professional Detailer.
Beginning with your dashboard get hold of a tidy microfiber fabric towel and fold it in half, spray Intra Clean on your towel, after that rub it across your dashboard seeing to it to pick up as much dirt and also gunk as feasible.
If you feel like your towel is getting dry, spray much more cleaner on your towel and keep cleansing until satisfied. After you cleaned the surface with your initial cleansing towel, get hold of a new clean cloth microfiber as well as enthusiast the area you cleaned up to a wonderful coating, ensuring to remove all leftover indoor cleaner. Continue this procedure on your door panels and also center console while using your describing brushes to get into all the nooks and crannies around your lorry.
Ultimately, it's time to include some additional security to your control panel. Our Inside Describing Set consists of Intra Guard which adds an additional layer of defense to your inside and also defends against severe UV rays. It's suggested to give your indoor one more fast vacuuming to guarantee no dust fragments get on the surface of the dashboard. Spray on the Intra Guard, rubbing it in with a clean microfiber towel. Use a second clean microfiber to rub out the excess product. Don't touch the surface for one more 24 hours to enable the item to heal.
Pro Tip: Always spray your indoor cleansing remedy on your towel or describing brush, if it's heavily sprayed on plastics and also drys it can leave streaks and additionally damage delicate electronic devices!
Tip 4: Cleansing Plastic & Leather.
Plastic and also leather https://bsdetailing.com.au/professional-car-interior-detailing-kit/ are durable products, however if the incorrect product is utilized or left on the surface as well long it can cause permanent damage, so always see to it to use specialized vinyl and leather cleansers!
Take your vinyl as well as natural leather cleaner and purposely spray it in your outlining brush, as well as begin to lightly scrub the surface of the plastic as well as natural leather. After that take a clean microfiber towel and also rub out all the leftover cleaning option.
Pro Suggestion: Make sure to clean your plastic and also leather seats in sections so your cleaning service doesn't dry off on you!
Tip 5: Brushing Crevices & Vents.
Now it's time to deal with all the nooks & crannies such as air vents, there's very little room to deal with in these areas, so it's a blast to burst out that top quality describing brush!
Use your describing brush to reject as much loosened dirt as well as grime from your vents, afterwards spray a percentage of indoor cleanser on your brush, perturb, then execute a comprehensive clean down making sure to eliminate all the gunk & remaining cleaner.
Pro Pointer: If you do not have a outlining brush offered grab a microfiber towel and cover it around your finger or a popsicle stick, this will certainly assist you enter all those little locations of the lorry! A tidy soft bristle toothbrush can work in a pinch!
Step 6: Vacuuming Carpets & Car Seats.
Now it's time to vacuum out all the gunk from your carpets & child seat!
Turn on your vacuum beginning with the chauffeurs side as well as begin vacuuming your child seat. See to it to recline your seats as well as enter between the edges as well as reinforces. Afterwards push your seat as far back as possible as well as start vacuuming your carpetings. Continue this procedure around the automobile making sure to move your seats back and forth so you do not miss out on any type of gunk underneath.
Pro Suggestion: This is likewise a great chance to vacuum out your carpeting flooring mats you took out of your car inside earlier! If you have plastic flooring matts spray them down with your interior cleanser or APC and chill out dirt as well as grime with your describing brush and also clean down with a microfiber towel.
Step 7: Shampooing Carpets & Furniture Seats.

After prepping the car with a heavy vacuum cleaner now it's time to hair shampoo your carpets & furniture seating. Starting with your upholstery seats, take your upholstery cleaner and gently mist the location you're working on, then with a rigid bristle cleaning brush, scrub the area up until satisfied.
You can spray a lot more rug cleaner or hair shampoo on greatly tarnished locations as well as let it remain on the surface area for a few mins to break down discolorations. After rubbing the shampoo take a clean microfiber towel as well as scrub the seats to get rid of as much shampoo residue as feasible.
You can additionally take your vacuum cleaner and draw out excess dampness & dust left in the upholstery also. Repeat this process on the rest of your lorry including your rugs until pleased.
Step 8: Securing Your Car's Inside Surfaces.
Now that you invested all that time cleaning your car we require to add some protection to avoid UV damage on points like plastics, vinyl, and leather.
Starting with your plastics & vinyl take your option of indoor conditioner/protectant and also purify it on a brand-new microfiber towel. Afterwards massage the protectant into all your plastic and also vinyl surfaces ensuring to evenly use. If you're satisfied with how the surface looks, fantastic! If it's as well glossy for you, take another microfiber towel as well as matte the gloss down until completely satisfied.

Complete the exact same process on the natural leather but with a dedicated leather conditioner/protectant. You intend to make certain you do not make use of a plastic/vinyl conditioner or protectant on natural leather because they are two completely various types of surface areas.
Pro Tip: There are also ceramic indoor finishes for your car's interior! These ceramic interior layers give your indoor surfaces much greater and much longer lasting security contrasted to your basic interior conditioner! Similar to paint finishes each interior covering is various so make sure to adhere to maker guidelines during application.
Plastic Restore will assist you tidy cruds off your door panels, interior panels, dashboard and any plastic surface. It likewise cleans up any type of
Views: 3
Comment
© 2024 Created by PH the vintage.
Powered by
![]()
You need to be a member of On Feet Nation to add comments!
Join On Feet Nation