Welcome to
On Feet Nation
Members
Blog Posts
Top Content
How to install led strip lights
How to install led strip lights
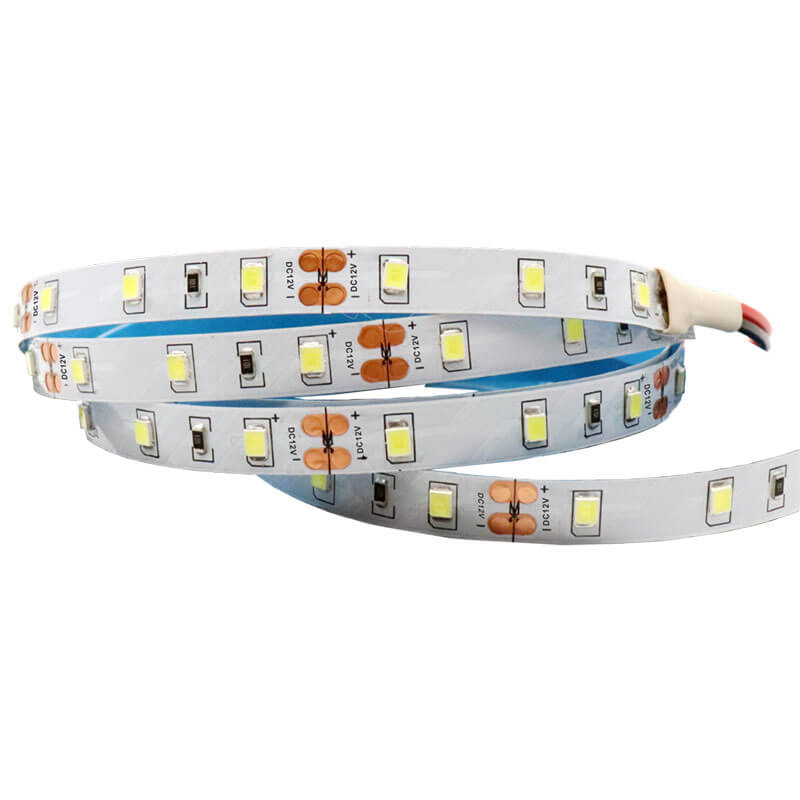
Many lighting projects may present challenges for the average DIYer, but learning how to install LED strip lights while avoiding common problems is relatively easy by following the manufacturer’s instructions and a few helpful tips. With just a power supply and a little know-how, you can put together an LED strip light setup that perfectly suits your home and lifestyle.To get more news about led neon light strip manufacturer, you can visit htj-led.com official website.
After you have decided where to place LED lights in the room of your choice, the next step is to determine how you will hang LED light strips on the wall, how you will install LED light strips on the ceiling, or even how you will Light strips under cabinets for the kitchen countertop install lighting. Use this informative guide to installing LED lights for step-by-step setup instructions, as well as instructions on connecting LED lights and cutting LED strips.
How to install led light bars
Learning how to place LED lights in your room is a great way to transform the aesthetic of your personal space. Just remember that rough, dirty, or uneven surfaces will limit the contact between an LED strip light’s adhesive and the wall, ceiling, or other suitable area. Be sure to choose a suitable place for installation and take the time to properly clean and dry the surface to prevent the light strips from falling off once attached.
STEP 1: Test the light strip and take measurements.
Before mounting your chosen LED light strips, first connect them to a power source to ensure they work. If they turn on and work as intended, unplug them and continue. Next, use a tape measure to accurately measure the strips themselves and the desired position. Depending on the specific product, you may be able to trim light strips to fit a specific space if they are too long. However, this is not the case with all trunking products. Check the product information and user manual before cutting LED light strips, and see “How to cut LED light strips” below for detailed steps.
STEP 2: Clean and dry the mounting surface.
Use a clean cloth and warm, soapy water (or the alcohol wipes provided) to clean the area where the LED light bars will be installed. After cleaning the installation surface, use a clean cloth to dry the area. As long as the area is clean and dry, LED light strips can stick to a range of smooth surfaces including wood, plastic, metal and vinyl.
STEP 3: Peel off the backing to reveal the light strip adhesive.
If you immediately peel off the entire adhesive backing of the light strip, there is a high chance that dirt, dust or other debris will adhere to the exposed adhesive strip before you can complete the installation. To avoid this problem, gradually peel off the backing to expose about 6 to 18 inches of adhesive at a time.
STEP 4: Attach the light strip to the target surface.
Depending on where the light strip will be connected to a power source, start the installation near that location. Align the first exposed adhesive section of the light strip with the target surface, press firmly and smooth the strip by hand. Peel off more backing to reveal another section of adhesive before pressing the light strip onto the target surface. Repeat this process as needed until you have attached the LED light strip to the surface.
STEP 5: Trim excess light strip length (optional).
If your LED light strip product can be cut and is longer than required, trim excess length from the end of the light strip. Refer to the manufacturer’s instructions to determine exactly where to cut LED strips to avoid damaging the product. Typically, the light strip will have some sort of marker (such as a scissors icon) showing where it can be cut. Carefully cut off excess light strip sections with scissors and dispose of properly.
STEP 6: Turn on the light strip.
Plug the LED light strip into the socket and turn it on to test if the installation was successful. Ideally, the lights will turn on and respond to the remote control, LED light strip app, or even voice commands, depending on the product.
Consult the manufacturer’s troubleshooting instructions if the lightstrip won’t turn on or flicker when it shouldn’t, even after unplugging and plugging it back in to reset the lightstrip. The problem may be due to a loose or damaged pin connection. Check the pins for damage and reconnect the strip lights to ensure the connections are secure. If this does not resolve the issue, you may need to repair the pins or replace the damaged light strip before proceeding.
Views: 4
Comment
© 2024 Created by PH the vintage.
Powered by
![]()
You need to be a member of On Feet Nation to add comments!
Join On Feet Nation